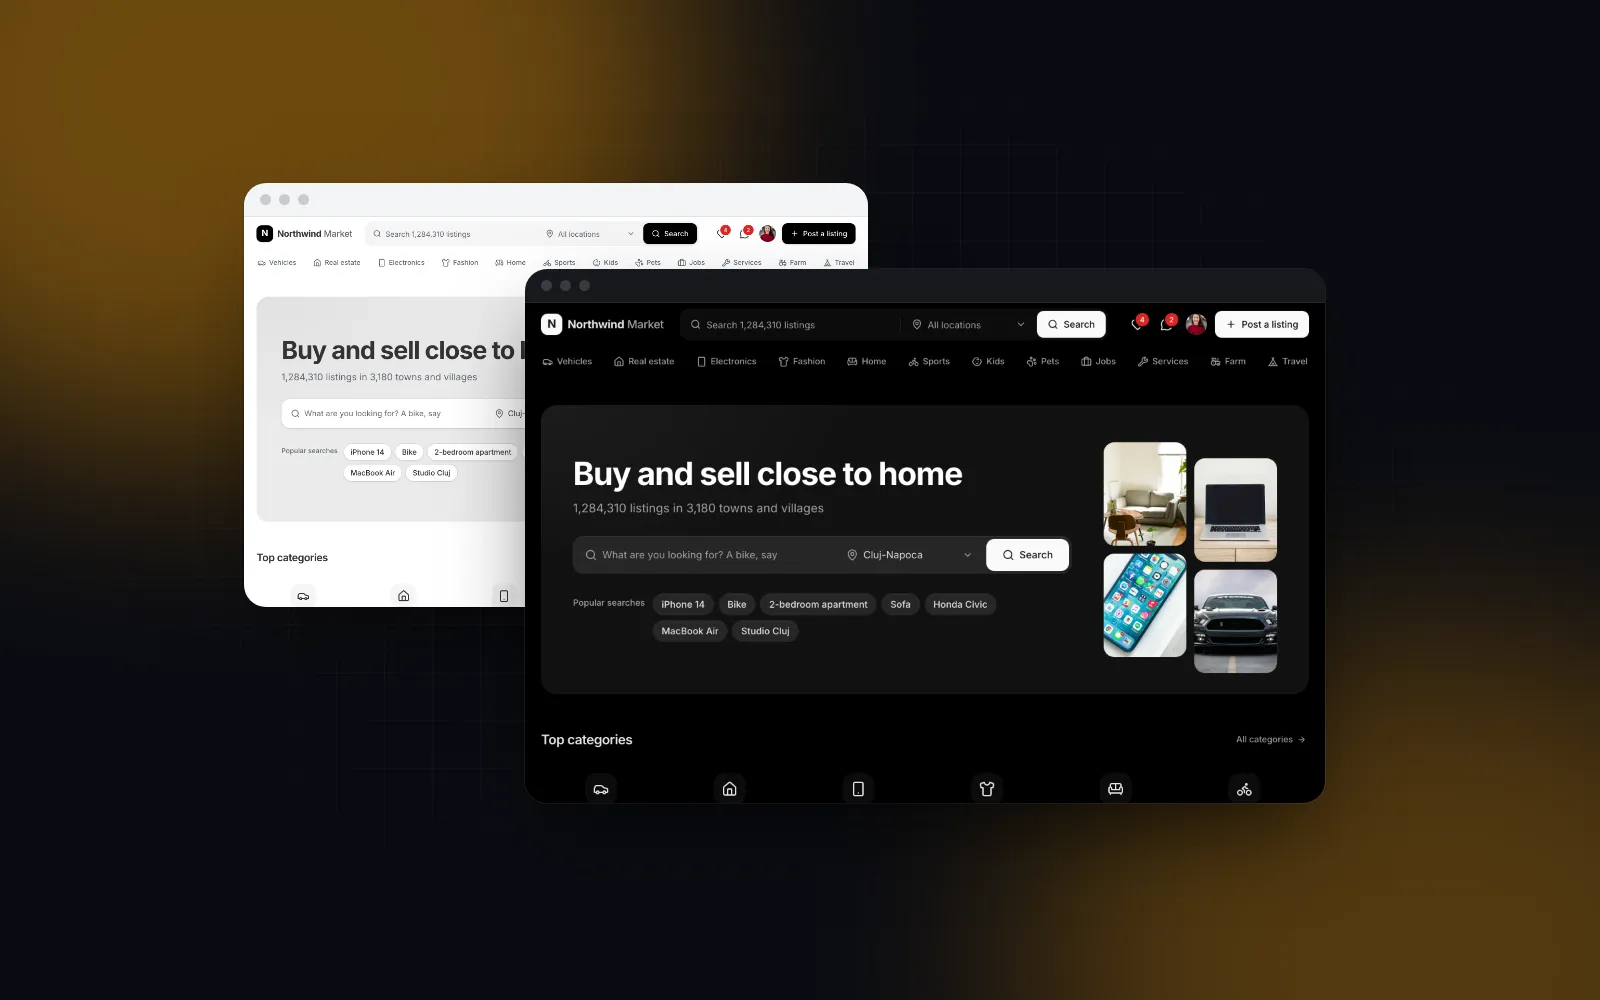
Nextjs Real Estate Template: Search, Map and Mortgage
You are building a site for an agency or a listings startup, and the next js real estate template you find usually ships a hero, a grid of houses and a contact form. A nextjs real estate template that buyers use needs more than that. Buyers switch between buying and renting, narrow by price and bedrooms, look at where the homes are, and want to know what the monthly payment would be before they call anyone. Sellers want to know what their home is worth. This guide walks through each piece of a real estate site that buyers use, how the Wingo UI Real Estate Page handles it, and how the layout changes on a phone. We build Wingo UI, so we are not neutral; the patterns work with any components.
What does a real estate website template need?
Seven sections, in roughly this order, because that is the order of the questions a visitor has:
As of November 6, 2026, the Homely template on WrapPixel (opens in a new tab) costs $29 for a single use license or $59 for multiple use and lists a home page, a property listing, a property detail, a blog, a contact page and a 404 on Next.js 15, React 19, Tailwind v4 and shadcn. The Clay template on Sanity (opens in a new tab) is paid, runs on Next.js 14 with Sanity as the CMS and adds a blog and an agent contact form through Resend. Neither listing mentions a map, a mortgage estimate or a valuation form. For a CMS-backed site where you build search yourself, those are a fair start.
How do you add the template to a Next.js app?
Install it with the CLI. It copies the page, its sample data and every component it uses into your project as source:
The page is a client component. Load your listings on the server and hand them, with your handlers, to a small client view:
Each listing is { id, mode, price, address, neighborhood, city, beds, baths, sqft, kind, color, lat, lng } plus the optional previousPrice, image, badge, href and favorite. Without an image the card draws a tinted illustration of the kind (brownstone, condo, loft, house, townhouse), which is handy while you wait for photos. Every string is in labels.
Replace the sample content before launch. The stats under the search ("1,200+ homes sold since 2009"), the agents, the testimonials and the footer's broker line all belong to the fictional Harbor & Pine agency. Pass your own stats (or stats={[]} to hide them), agents and testimonials, and set labels.brand and labels.legal. Sample reviews and sales numbers must never reach a live site.
$ npx wingo-ui@latest add real-estate-pageHow should the buy or rent search work?
The Buy / Rent switch changes everything that follows it: the featured homes, the map pins, the neighborhood medians (sale price or rent) and the price choices. Switching resets the price filter on purpose, since a $1M to $2M band means nothing for rentals. The location field matches the address, the neighborhood and the city as you type, so "11215", "Union Street" and "Park Slope" all work, and the count above the homes is a polite live region, so screen readers hear "4 homes for sale" without stealing focus.
The filtering runs on the listings you pass, fine for the 10 to 50 homes an agency features. onSearch fires on Search, on Show homes in the phone filters sheet and on a neighborhood tile, with { mode, location, price: [min, max], minBeds }. Use it to sync the URL or to send the visitor to a full results page. Only mode is controllable from outside, so for deep links that restore the whole search, build the results page from the Listing Grid.
What goes on a property listing card?
Good property listing page design puts the decision facts on the card so people tap fewer homes they would reject: the price (and the old price after a cut), beds, baths, area, the neighborhood and one short badge such as "Open house Sat". The template's card does that, with a heart that rolls back if onFavoriteChange rejects.
On a results page with real photos, use the Listing Card. It swipes through several photos on a phone (vertical scrolling still wins, and a swipe never opens the listing), shows the price per square foot under the amount, and has grid, list and compact layouts. A home maps onto its ListingData like this:
For rentals, add priceSuffix: "/mo". The 16/10 photo shape suits homes better than the default 4/3.
$ npx wingo-ui@latest add listing-cardThe Listing Grid wraps these cards for a results page: the count, a sort (a bottom sheet on phones), a grid / list switch it can remember per visitor, removable filter chips and loading more as you scroll.
How does the price pin map work, and when do you need a real map?
The template's map band shows every matching home as a pin with its compact price ("$1.25M", "$4,200") next to a list of the same homes. A pin or a row opens a preview card with View home and Estimate payment; Escape or the close button closes it and focus goes back to the pin. The map is drawn, not tiled: pins are placed by lat and lng inside the mapBounds you pass. That means no API key, no tile bill and no map library on a landing page, the right trade for one city's featured homes. It will not show the streets around a home.
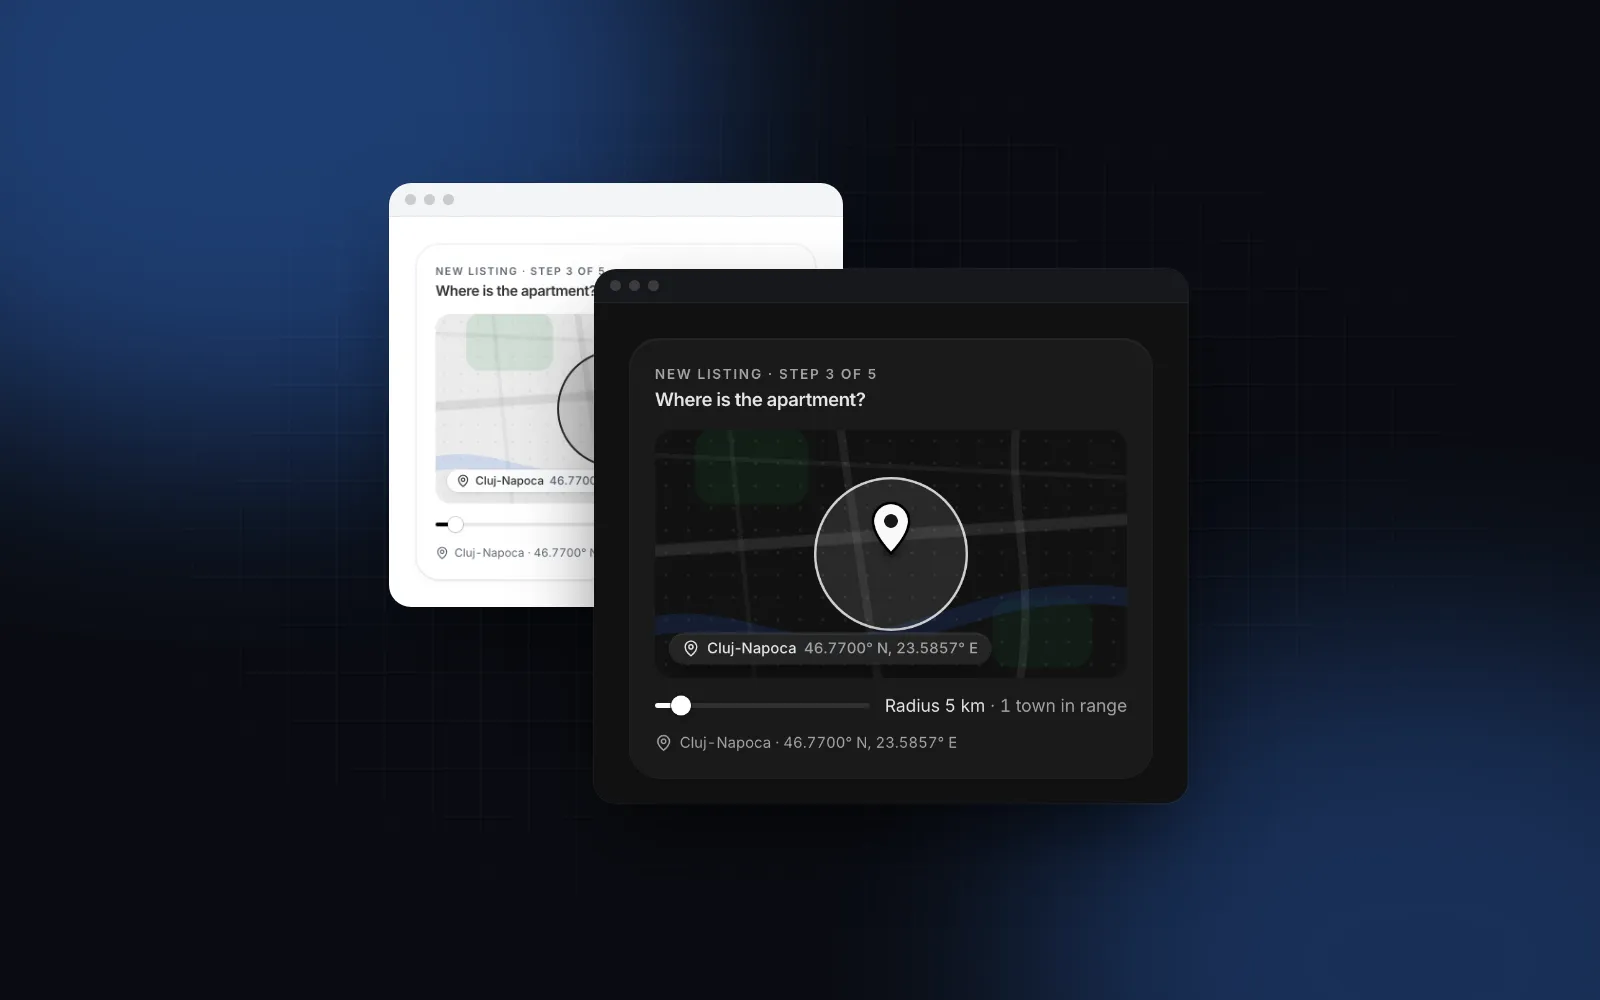
For the street view of one home, on a listing detail page, use the Location Map. It is Leaflet with OpenStreetMap tiles, loads only when it nears the viewport, and falls back to a drawn card without network:
Three caveats from its docs. OpenStreetMap's public tiles are meant for light use, so point tileUrl at your own provider in production. readOnly hides the search, but where an agent places a home on the map (an add listing form), the default offline search only knows Romanian towns: pass geocoder={nominatimGeocoder({ email, countryCodes: "us" })} or your own geocoder. And the line under the map names the place from that same Romanian list, so a US home shows only its coordinates there unless you pass reverseGeocoder={nominatimReverseGeocoder({ email })}. It holds one pin, so for a results map with hundreds of homes and clustering, use MapLibre or Leaflet with a cluster plugin directly. The Listing Detail Page block already puts a Location Map on the detail screen.
What happens on a phone?
Below 768px the template changes shape instead of shrinking:
- The search becomes a stacked card: the Buy / Rent switch, the location field, then Filters and Search side by side. The price and beds selects are hidden.
- Filters opens a bottom sheet with the Price Range (a histogram of the current homes over a two-thumb slider, Min and Max fields and preset chips) and a beds switch. Its button says "Show 4 homes" as you drag, so nobody applies a filter that returns nothing.
- The featured homes become a snap rail: each card is 82% of the screen wide, so the next one peeks in and shows there is more to swipe.
- In the map band, the list sits above the map, capped at 300px and scrolling on its own, with a 320px map under it.
That stacked map works for a dozen featured homes. On a results page with a long list it does not: the map ends up below a scroll the visitor never finishes. Show one view at a time instead, with a List / Map switch pinned near the thumb. Here is that pattern with the Listing Grid and the free Segmented Control; ResultsMap is your own map:
Both views stay mounted, so the map keeps its position and the list keeps its scroll when the visitor switches back. One catch: a map library measures its container, and a container hidden with display: none measures zero, so call map.resize() (MapLibre) or map.invalidateSize() (Leaflet) inside ResultsMap when the map view opens. From 768px the toggle disappears and the list and map sit side by side.
How does the mortgage estimate calculate the payment?
The calculator uses the standard amortization formula for principal and interest, then adds property tax (a yearly percent of the price), insurance and HOA fees per month. With the defaults (a $1,250,000 home, 20% down, 6.5% over 30 years, 0.9% tax and $150 insurance), the loan is $1,000,000, principal and interest come to $6,321, tax adds $938 and the estimate is $7,408 a month. The breakdown bar and totals update as the sliders move (arrow keys and Page Up / Down work too).
Set your market's averages through the mortgage prop, for example mortgage={{ taxRate: 1.1, insurance: 120, hoa: 350 }}; anything you leave out keeps its default. Estimate payment on a map preview fills the calculator with that home's price and scrolls to it. Keep the note that it is an estimate for planning only, and keep the wording away from anything that reads like a loan offer.
How do you wire the valuation form?
On a real estate landing page template, the valuation band is the lead capture for sellers. The form checks the address, the name and the email, focuses the first problem, and calls onValuation with { address, propertyType, beds, timeline, name, email, phone }. A returned promise keeps the button spinning; a rejection keeps what was typed and shows labels.failed. A server action fits:
db stands for your own data layer. Validate again on the server, as here: a server action is a public endpoint, and the TypeScript types do not exist at runtime. Without onValuation the form pretends for 900 ms and confirms, which is fine for a preview and wrong for production.
Which parts are free and which are Pro?
The Real Estate Page, the Listing Card, the Listing Grid, the Location Map and the Price Range are Pro items. The Segmented Control is free, along with 74 other items of the 369 in the catalog. Pro is $8 a month, $80 a year or $150 once on the pricing page, and the 14-day refund applies while no Pro item has been downloaded. On a nextjs real estate website the template is usually the first screen, followed by a Listing Grid results page and a detail page. If your site is closer to a classifieds market, the React marketplace template tutorial builds those screens around a search URL.
More full screens are in the Build it category, and the Next.js admin dashboard tutorial covers the back office where agents would manage these listings.
Try it before you install it
Open the Real Estate Page template on your phone, switch to Rent, open Filters and drag the price, then tap a pin. If it fits your real estate website template react project, npx wingo-ui@latest add real-estate-page copies it into your app with a Pro account, ready for your listings, your bounds and your valuation action.
FAQ
Is there a free Next.js real estate template?
The two polished ones we checked on 2026-11-06 are paid: Homely costs $29 for a single use license on WrapPixel, and Sanity lists the Clay template as a paid template. The Wingo UI Real Estate Page is a Pro item, included in the $8 a month plan.
What pages does a real estate website need?
A home page with a buy or rent search, a results page with filters and a map, a listing detail page with photos, facts and the location, and a way for owners to request a valuation. Agent profiles, neighborhood guides and a mortgage estimate are what make buyers stay.
How should a property search map work on mobile?
Show either the list or the map, not both, and switch with a toggle that stays in reach of the thumb. Pins should show the price, and tapping one should open a short preview instead of leaving the results.
How is a monthly mortgage payment calculated?
Principal and interest use the standard amortization formula: loan times the monthly rate, divided by one minus (1 + monthly rate) to the power of minus the number of months. Property tax, insurance and HOA fees are then added per month.
Does the template need a Google Maps or Mapbox key?
No. The template draws its own map and places the pins from latitude and longitude inside the bounds you pass, so there is no key and no tile bill. The separate Location Map component uses Leaflet with OpenStreetMap tiles by default, and you point it at your own tile provider in production.
- Real estate
- Next.js
- Templates
- Maps
- Mobile UI